Setting up Nessus Scan for Vulnerability Scanning of EC2 Instances
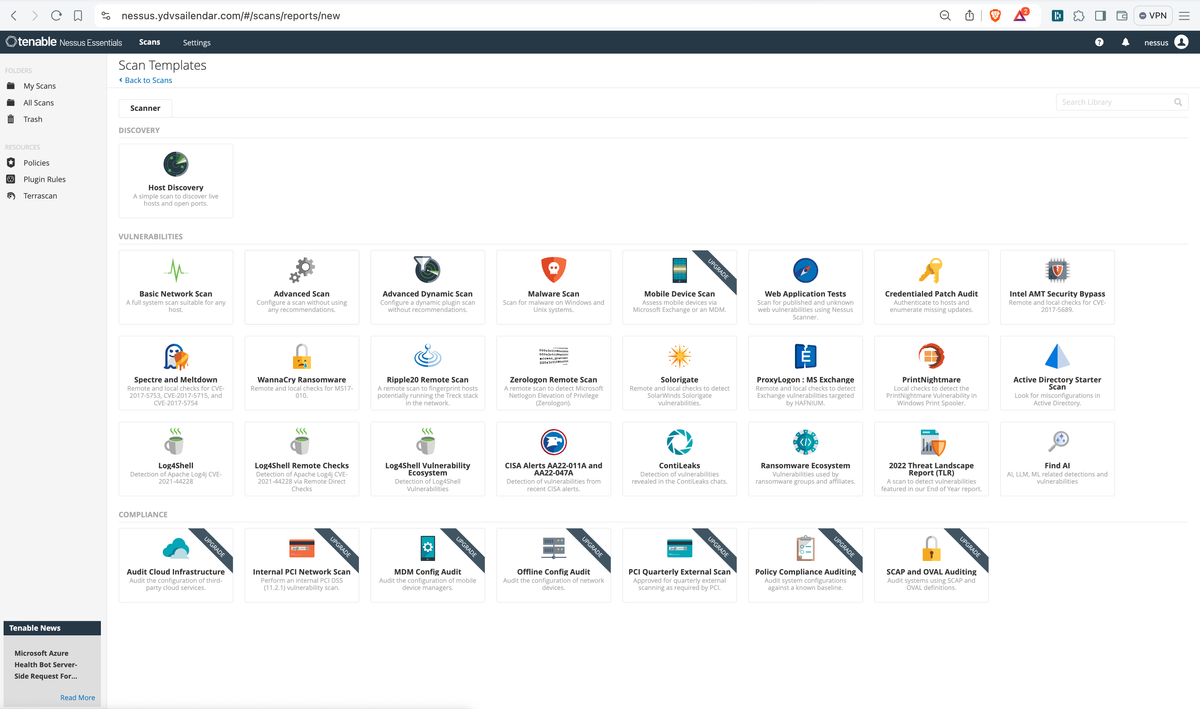
We are going to explore Nessus by tenable which is used for vulnerability scanning of instances out of many other things that it does on advance level.
Bear in mind though the docker image of nessus is around 300-400 MB in size but the requirement of running nessus is quite huge mainly due to all the functionalities and also the process it needs to run, so you need 4GB of RAM (AWS t3.medium) and 30GB of storage for it to work and so does this post follows.
Pre-requisite
- Installing Docker and Compose in AL2023 AWS EC2
- Get Activation Code of Tenable Nessus Essentials
- Setup application which we will be scanning https://ydvsailendar.com/building-a-blogging-website-with-ghost/, feel free to use your own.
Setting up for deployment
Once the above pre-requisite are completed, you should have 2 EC2 instance running on public ip and tenable activation code.
- Put them into a .env file in the instance in a dir.
# let's assume you are on /home/ec2-user dir
mkdir -p nessus
cd nessus
vim .env- Put these contents on the .env file
COMPOSE_PROJECT_NAME=********* # docker compose project name
NESSUS_ADMIN_PASSWORD=******** # nessus admin password
NESSUS_ACTIVATION_CODE=******* # nessus activation code from above link
DOMAIN_NAME=****************** # domain to access nessus
ADMIN_EMAIL=****************** # email to be used by letsencrypt
.env
- Now create a compose.yaml file and dump the below snippet.
services:
  nessus:
    image: tenable/nessus:10.8.1-ubuntu
    container_name: nessus
    restart: always
    environment:
      USERNAME: nessus
      PASSWORD: ${NESSUS_ADMIN_PASSWORD}
      ACTIVATION_CODE: ${NESSUS_ACTIVATION_CODE}
      VIRTUAL_HOST: ${DOMAIN_NAME}
      LETSENCRYPT_HOST: ${DOMAIN_NAME}
      LETSENCRYPT_EMAIL: ${ADMIN_EMAIL}
      VIRTUAL_PORT: 8834
      VIRTUAL_PROTO: https

  proxy:
    image: nginxproxy/nginx-proxy:1.6
    container_name: proxy
    restart: always
    ports:
      - 80:80
      - 443:443
    volumes:
      - html:/usr/share/nginx/html
      - certs:/etc/nginx/certs:ro
      - /var/run/docker.sock:/tmp/docker.sock:ro

  letsencrypt:
    image: nginxproxy/acme-companion:2.4
    container_name: letsencrypt
    restart: always
    volumes_from:
      - proxy
    volumes:
      - certs:/etc/nginx/certs:rw
      - acme:/etc/acme.sh
      - /var/run/docker.sock:/var/run/docker.sock:ro
    environment:
      DEFAULT_EMAIL: ${ADMIN_EMAIL}
    depends_on:
      - proxy

volumes:
  acme:
  certs:
  html:
compose.yaml
Things to keep note of is the VIRTUAL_PROTO property on the nessus config. If you are using nginx and if you don't set this you will get Unrecoverable SSL_accept error: error:0A00009C:SSL routines::http request.
Once everything is in place then we will deploy the snippets
# make sure you are in the nessus dir and .env and compose.yaml are in this dir
docker compose up -d # it will run docker in detached mode
docker ps # check if the containers are up and running
docker logs <container_name> # check if any error in the container
Domain Mapping
- Create an EIP, Attach the EIP to instance.

- Take the EIP and create a record in Route53 for your domain.
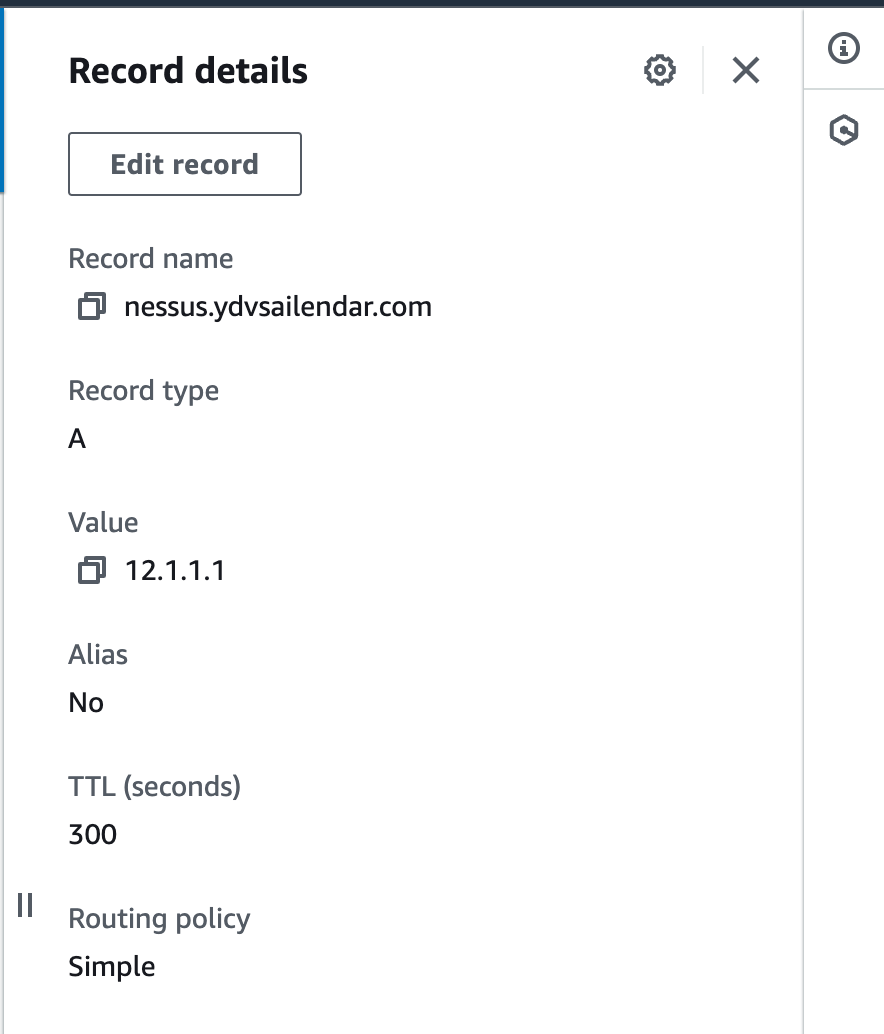
- Visit the domain and verify the portal is available at https://${DOMAIN_NAME}.
Nessus Portal
Now its time to login and setup the nessus to be able to scan instances for vulnerabilities, open ports or outdated packages or configurations.
The nessus portal will take time to initialize so don't work it's not just you. Login using the username in the compose.yaml file and password in the .env. It takes a while to install plugin and initialize itself, so grab a coffee if you will and wait for the compilation to complete.

Once complete you should be able to see the policies section being clickable same goes for the create a new scan section. Click on Create a new Scan to create our first scan. After click you will see a screen like this.
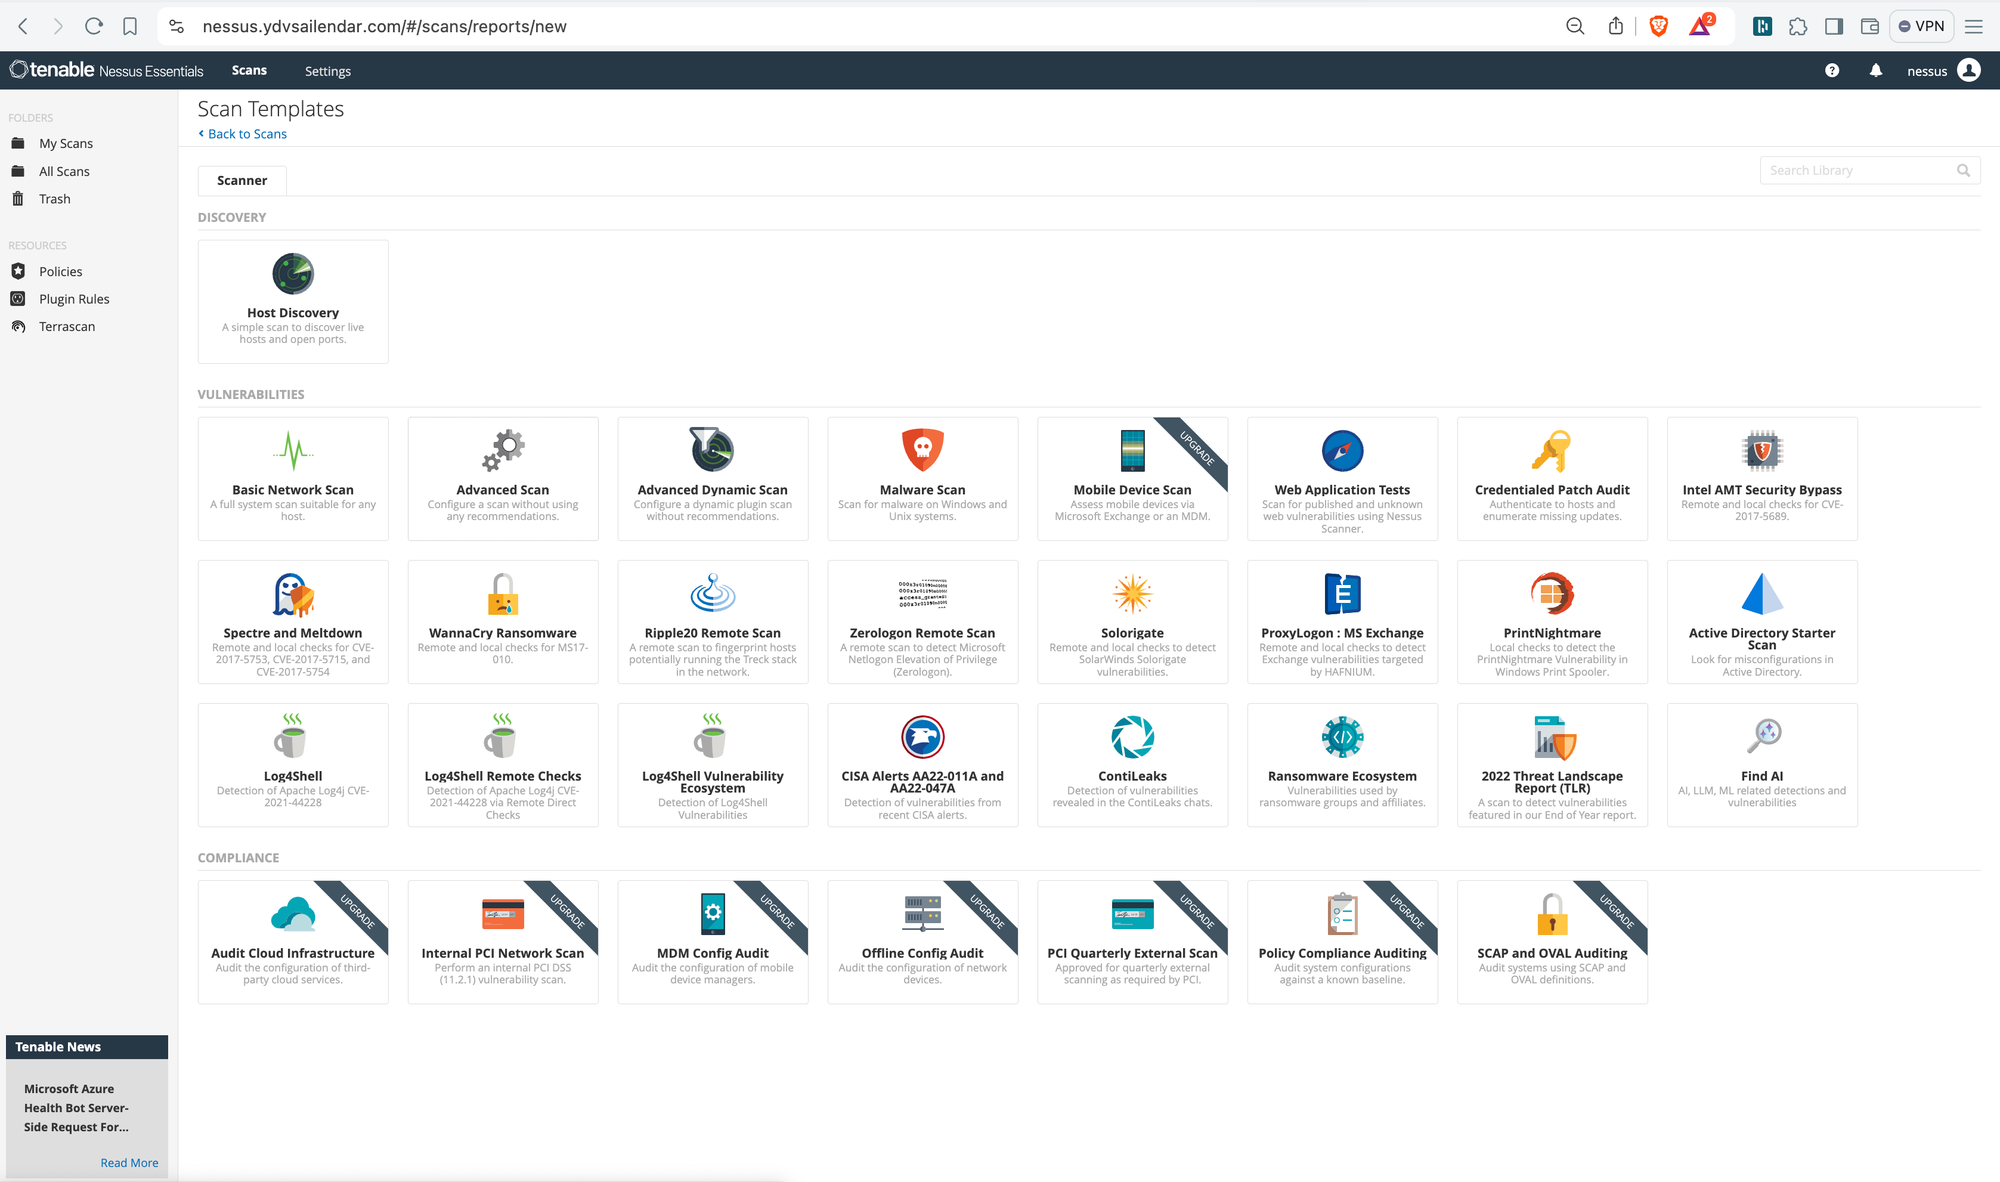
from the list select Basic Network Scan and you will be greeted with below screenshot screen. fill in the details Name can be e.g dev, uat or prod based on which stage of your infrastructure you are planning to run scan on give a description and paste the ip address of the instance you want to perform scan on and click save.
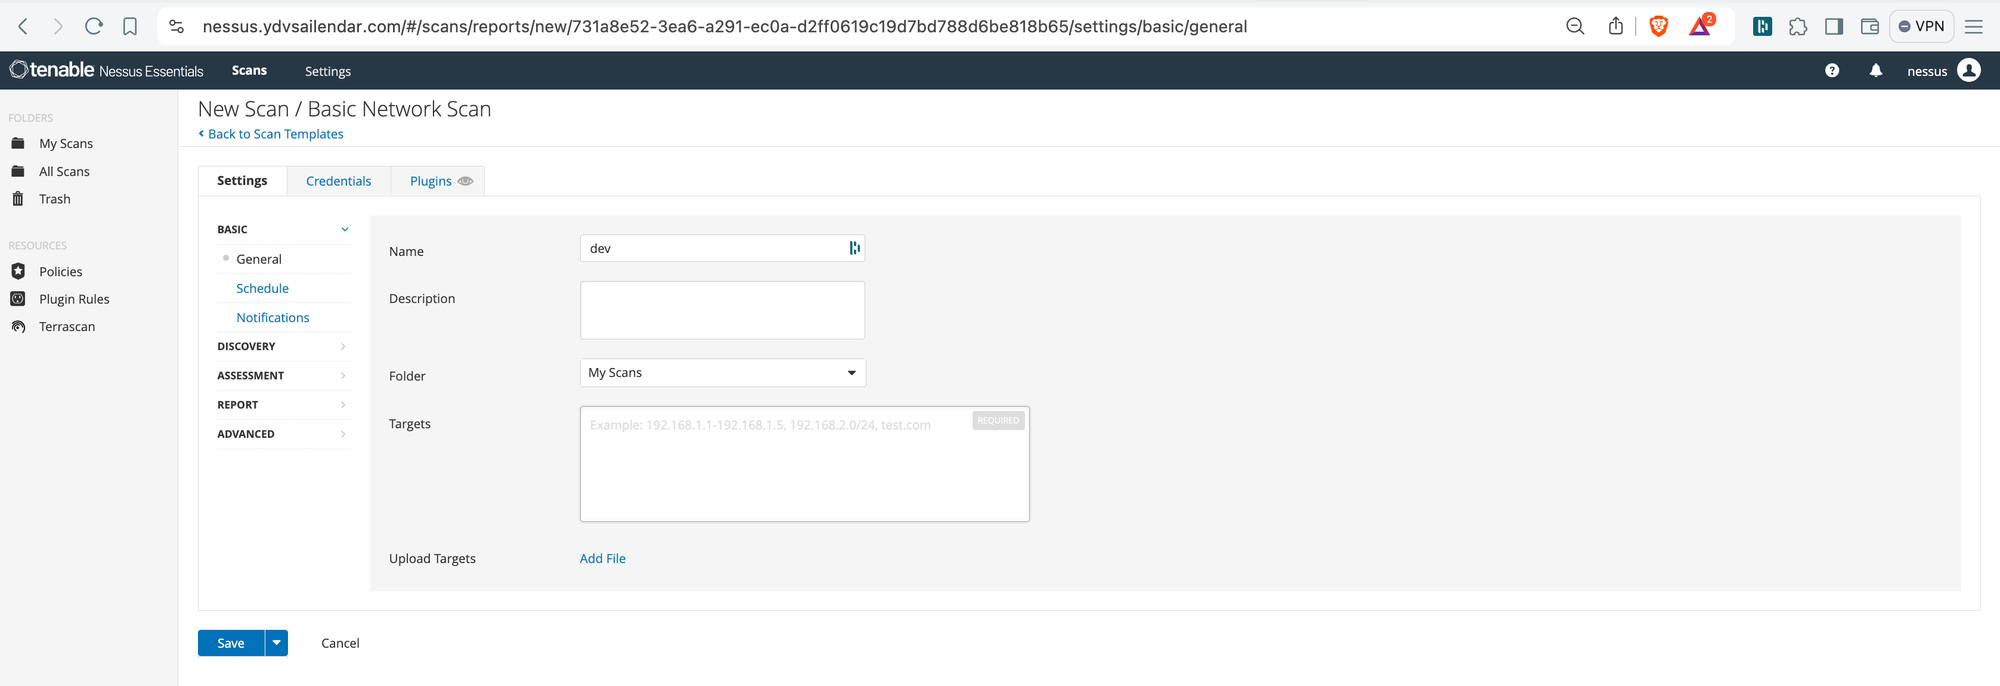
Once saved you will see it in your folders selected and if you press the play button at the right hand side it will start scanning.

click on the dev and you will see details and status.

If you look closely to the image below you can see vulnerabilities listed and now you click on each vulnerabilities and you will find explanation and also possible solution mentioned.
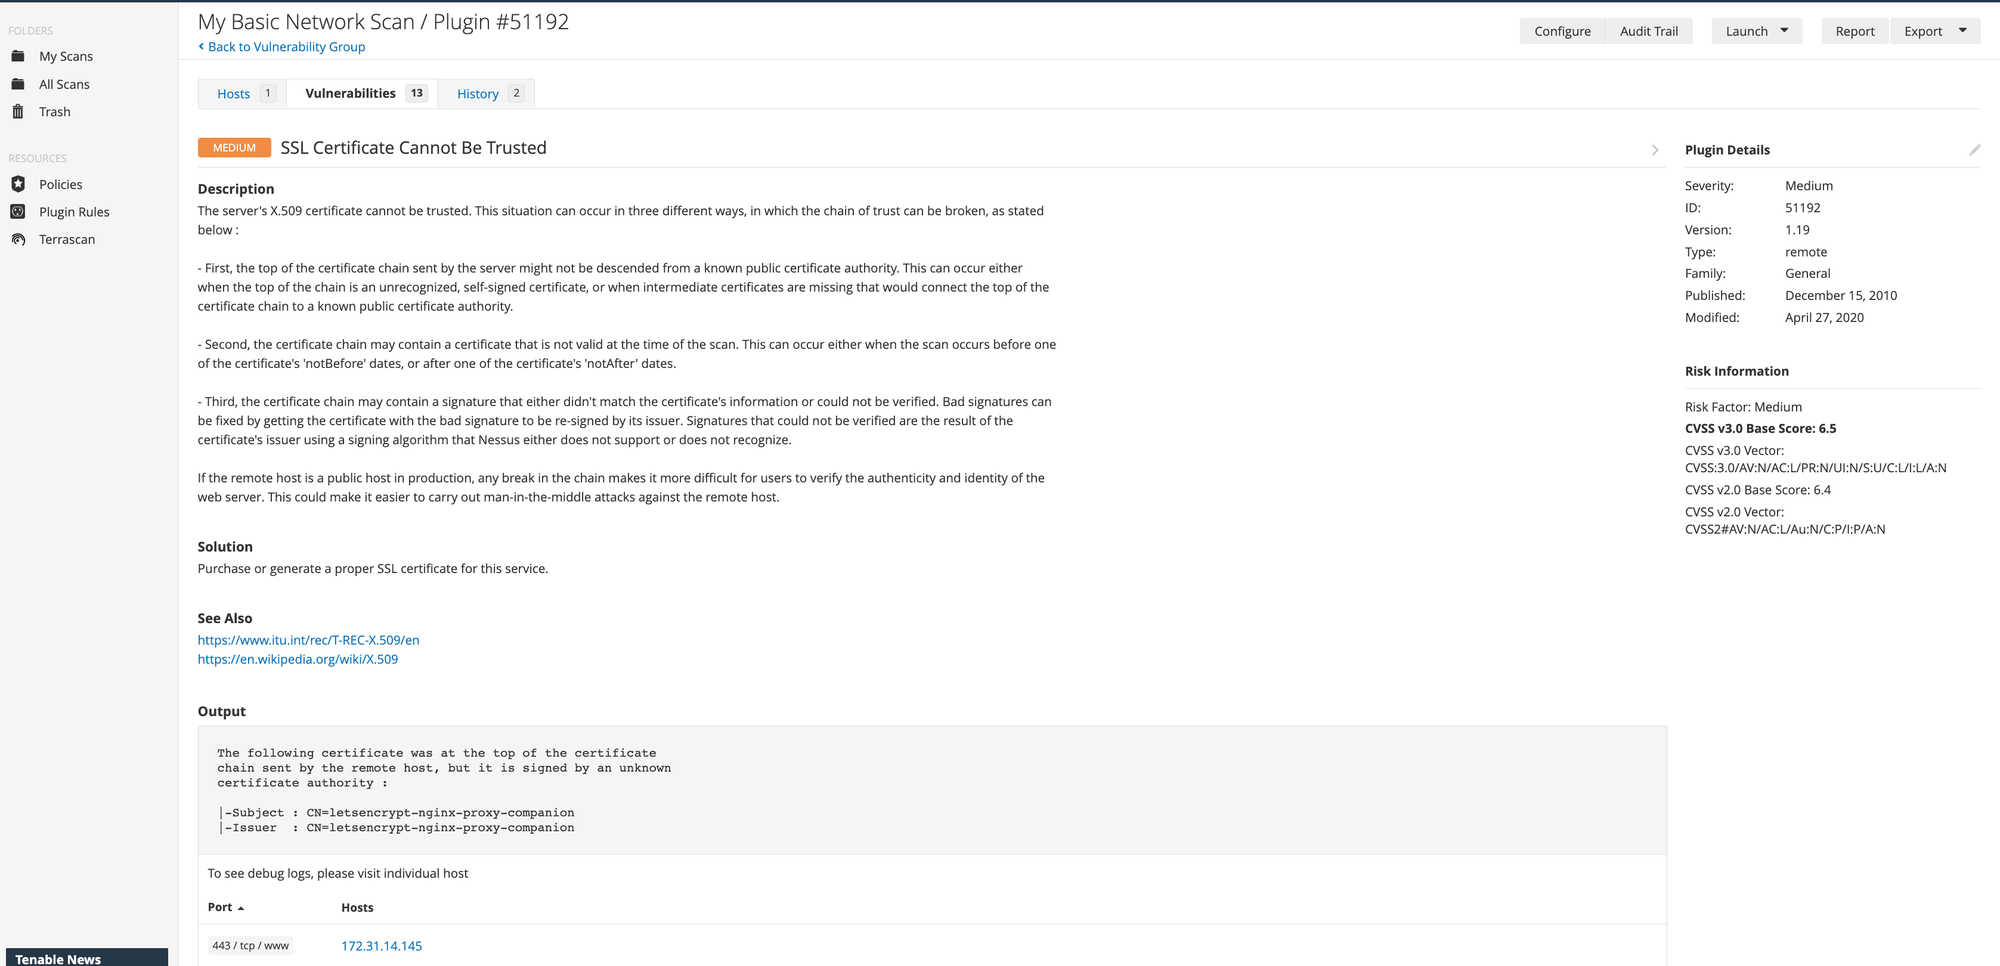
Now that the scan is completed and we want to send it to security team or you are part of security team and you want to generate report based on this. You can export the scan results report as a csv, pdf or html. To do so click on the Report section from the right menu.

You might want to seperate your scans based on dir for example for ITHC one dir for sandbox one env and for development stage like the one we created e.g dev, uat and prod. To do so click on All Scans and click on the New Folder and give Name and click Create, then you will see in the left menu a new Tab called ITHC. Now while creating new scans you can select this folder and scans will be listed here which help in categorizing scans and generating reports etc.


Thanks all for this post, seems like its getting too long hard to read. If there is any specific sections of Nessus you want me to cover please leave a comment and i will bring it next. Happy Reading!!!!
You will find the code in github below 👇